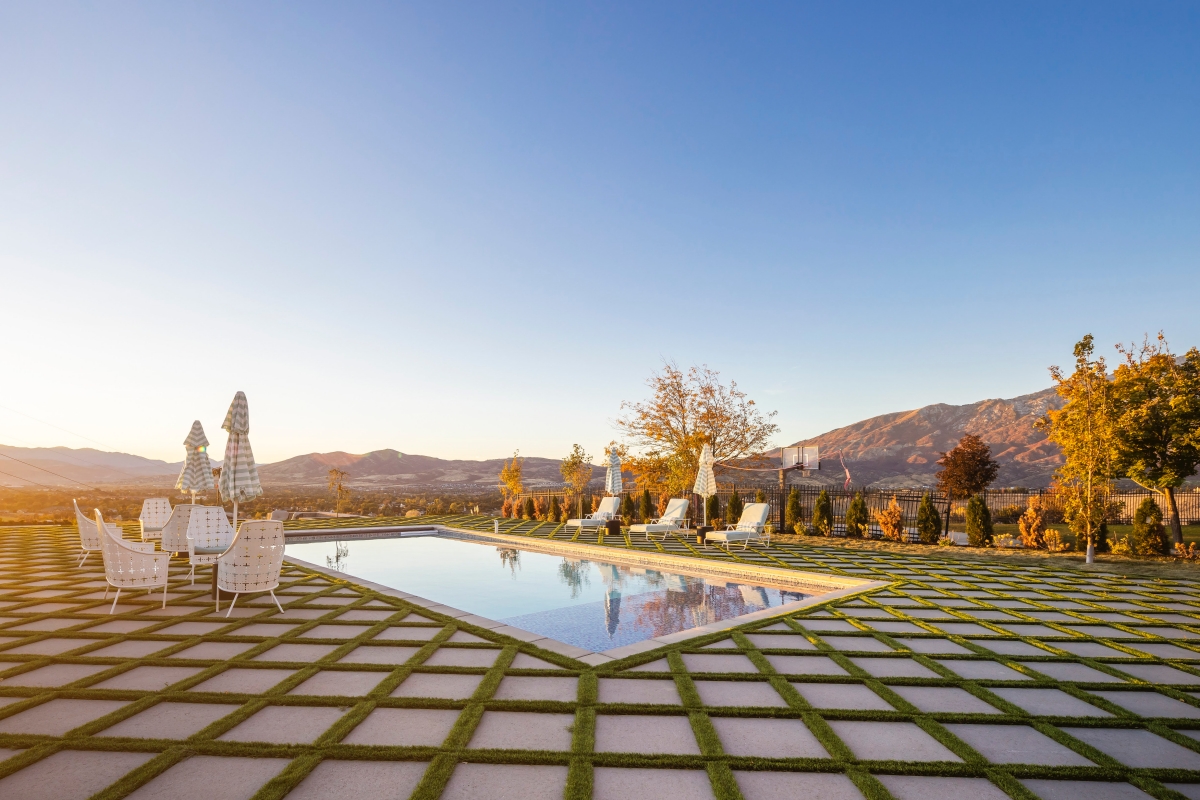
Effective patio lighting design comes down to three principles: layer multiple fixture types (ambient, task, and accent), use warm white LED at 2700K–3000K throughout, and plan fixture locations before construction begins. A patio that looks professionally designed after dark uses at least three types of lighting working together as a system — not a single type of fixture added as an afterthought.
Why Most Homeowners Get Patio Lighting Wrong
The most common patio lighting mistake isn’t choosing the wrong fixture — it’s thinking about lighting too late. Patio lighting is an afterthought in most backyard projects. The patio gets built, the pergola goes up, the furniture arrives — and then someone asks about lighting, and retrofitting it into a finished space costs more, looks worse, and doesn’t integrate the way a planned system would.
The second most common mistake is uniformity. One type of light — all string lights, all path lights, or all uplights — creates a one-dimensional lighting environment. The spaces that look designed and intentional after dark are layered: multiple fixture types working together at different heights, angles, and intensities.
Here are 8 tips for getting it right.
Stunning Outdoor Spaces in Utah! 🌿✨
At Chopper Landscaping, we design and build stunning, functional outdoor spaces. From hardscapes to outdoor lighting and kitchens, we bring your vision to life.
Tip 1: Layer Three Types of Light — Always
Professional lighting designers organize outdoor light into three layers:
Ambient light: General, diffused illumination that makes the space functional — string lights, overhead fixtures, pergola downlights. Think of this as your ceiling.
Task light: Focused, utilitarian light at surfaces where work happens — step lights, counter lighting in an outdoor kitchen, reading light at a seating area. Think of this as your work surface.
Accent light: Directional light that creates visual interest and focal points — uplights on trees, wall-wash lights on retaining walls, architectural highlights. Think of this as your art lighting.
A space with only one layer feels flat and incomplete. A space with all three layers feels like a designed outdoor room.
At minimum, your patio lighting plan should include at least one fixture type from ambient and one from accent, plus step lights (task) at every grade change. The UNLA award-winning backyard Chopper Landscaping built in 2026 uses all three layers throughout every zone — which is part of what made the nighttime space as compelling as the daytime design.
Stunning Outdoor Spaces in Utah! 🌿✨
At Chopper Landscaping, we design and build stunning, functional outdoor spaces. From hardscapes to outdoor lighting and kitchens, we bring your vision to life.

Tip 2: Use Warm White LED Everywhere — 2700K to 3000K
Color temperature is the most impactful single decision in outdoor lighting design. The number matters.
2700K–3000K (warm white): Warm, flattering, inviting. Works on people, food, stone, wood, and plants. The standard for residential outdoor entertaining spaces.
4000K+ (cool white or daylight): Clinical, harsh, institutional. Makes outdoor spaces feel like parking structures or commercial areas. Wrong choice for a patio.
Every fixture in your patio lighting system — ambient, task, and accent — should be in the 2700K–3000K range. If you mix color temperatures (warm string lights over a patio, cool security lights on the house wall), the mismatch reads immediately as unplanned and unfinished.
Chopper Landscaping specifies FX Luminaire LED fixtures at 2700K as the standard on premium projects. FX Luminaire’s color quality (high CRI — Color Rendering Index) at this temperature creates the most flattering, accurate rendering of patio materials, plant color, and people.
Tip 3: Plan Fixture Locations Before Construction
This is the most important tip that most homeowners ignore until it’s too late.
Step lights must be rough-in installed during step construction — not after. Conduit for electrical runs to garden zones must be laid under the paver surface before the pavers are set. Fixture mounts in pergola beams must be positioned when the pergola is framed. Transformer location must be determined before the landscaping is planted.
If you plan lighting after construction is complete, you are paying to undo work that was already done — and you’re accepting fixture placements that are dictated by what’s accessible, not by what’s optimal for the design.
Chopper Landscaping includes lighting design as part of every full landscape design package. Fixture locations, types, aiming angles, conduit runs, transformer sizing, and control strategy are all documented in the design before a single paver is laid.
Tip 4: Light Every Step and Grade Change
This tip is both a design tip and a safety requirement.
Step lights installed in the riser face of every patio step do three things: they make steps safe and visible at night, they create a rhythmic architectural detail that reads beautifully in the design, and they define the grade transitions in your multilevel patio as intentional features rather than functional necessities.
On Chopper Landscaping projects, step lights are specified and rough-in prepared during patio installation — not added later. We use FX Luminaire LED step lights sized and aimed to illuminate the step tread surface without glare.
Beyond steps: light retaining wall caps, raised planter edges, and path transitions at grade changes. Anywhere you need to be aware of a height difference at night should have a light source near it.
Tip 5: Integrate Lights Into Structures — Don’t Bolt Them On
The most compelling patio lighting looks like it belongs to the structure. The worst patio lighting looks like it was added to the structure after the fact.
Compare:
- A pergola with screw-clamp string light hooks attached to the finished lumber — looks improvised
- A pergola with integrated downlights mounted in pre-drilled fixture locations in the beam faces — looks architectural
The difference is planning. If you know where you want fixtures before the pergola is built, the electrician or landscape lighting contractor can rough-in fixture mounts, conduit runs, and junction boxes during construction. The result is lighting that is part of the structure, not just attached to it.
This applies to retaining walls (step lights built into the cap during wall construction), outdoor kitchens (under-counter lighting roughed-in during frame construction), and pergolas (downlight and fan rough-ins during framing).
Tip 6: Create Focal Points With Strategic Uplighting
Uplighting — fixtures aimed upward at a vertical feature — is the technique that separates professionally designed outdoor lighting from functional-only systems.
One well-placed uplight on a specimen tree near the patio creates:
- A lit focal point that anchors the space visually at night
- Depth — the lit tree creates a background layer behind the main patio space
- Scale — uplighting emphasizes the height of trees and vertical structures in a way no other fixture type can
On retaining walls, uplighting along the wall face creates a wash of light that turns structural elements into architectural features. On a pergola post, a ground-mounted uplight creates a dramatic column of light that defines the corner of the outdoor room.
Identify 2–4 focal features in your patio area — a tree, a retaining wall, a water feature, a pergola column — and plan an uplight for each one. The result is a layered, dimensional nighttime space.
Stunning Outdoor Spaces in Utah! 🌿✨
At Chopper Landscaping, we design and build stunning, functional outdoor spaces. From hardscapes to outdoor lighting and kitchens, we bring your vision to life.

Tip 7: Use Dimmers — Control Your Atmosphere
A patio lighting system that runs at full power all the time misses half its potential. Dimmable LED systems allow you to set the scene:
- High output for functional tasks — kids running around, working at the outdoor kitchen counter
- Mid-level for dining and conversation — warm, social, flattering
- Low output for a late-evening fire pit gathering — just enough to define the space without competing with the firelight
FX Luminaire’s LUXOR smart lighting system allows zone-by-zone dimming from a smartphone app, with scene programming for different occasions and astronomical clock timing that automatically adjusts to seasonal sunset changes.
Even a simple low-voltage landscape transformer with dimming capability is significantly better than a fixed-output system.
Tip 8: Don’t Overlight — More Is Not Better
The most common amateur lighting mistake in residential outdoor spaces is over-lighting. Too many fixtures. Too much total output. A space that’s so bright it feels like a commercial parking lot rather than a private retreat.
Effective outdoor lighting uses the minimum number of properly placed fixtures to achieve the three-layer system. More fixtures don’t create better atmosphere — they create light pollution and visual chaos.
Evaluate your design by asking: does each fixture serve a clear purpose — ambient, task, or accent? If a fixture doesn’t answer one of those three functions specifically, cut it from the plan.
The UNLA Best Residential Project 2026 built by Chopper Landscaping achieved a layered, atmospheric lighting environment with a precise fixture count and placement — not an excess of fixtures at maximum output.
How Chopper Landscaping Designs Outdoor Lighting Systems
Every Chopper Landscaping project with a complete outdoor lighting scope goes through our standard design process:
Site evaluation: Assess existing electrical service capacity, natural focal features (mature trees, architectural elements), and zone layout.
Lighting design document: MD and our lighting specialist produce a fixture placement plan specifying type, location, aiming angle, color temperature, and lumen output for every fixture in the system.
Integration planning: Conduit runs, transformer location, fixture rough-in specs, and control strategy are all determined before installation.
FX Luminaire specification: We specify FX Luminaire as our standard professional lighting brand — engineered for landscape applications, available in 2700K, dimmable, and backed by professional warranty support.
Installation and commissioning: Every fixture is aimed, controlled, and dimmed to the design intent before client walkthrough.
Craftsmanship warranty: Our lighting installations are covered by our craftsmanship warranty. We don’t disappear. We confirm. We deliver.
Frequently Asked Questions
What are the most important tips for designing effective patio lighting? Layer ambient, task, and accent fixtures; use 2700K–3000K warm white; plan fixture locations before construction; light every step and grade change; integrate fixtures into structures rather than bolting them on.
How many light fixtures do I need for a patio? 8–15 fixtures for a typical 400 sq ft patio, across multiple types. A landscape lighting design document specifies exact fixture count based on the space.
Should patio lighting be on a timer or smart control? Yes — automated control is essential. Smart systems like FX Luminaire’s LUXOR provide zone dimming, scene programming, and astronomical clock timing.
What color temperature for outdoor patio lighting? 2700K–3000K (warm white) for all patio zones. Never go cooler than 3000K in residential outdoor entertaining spaces.
Should I design patio lighting before or after construction? Before — always. Step light rough-ins, conduit runs, and structure fixture mounts must be planned and executed during construction. Retrofitting after the fact is more expensive and always compromises placement quality.
Ready to Design Your Patio Lighting System?
Chopper Landscaping designs complete outdoor lighting systems with FX Luminaire fixtures as part of every landscape project. Free consultation. 3D design visualization. Craftsmanship warranty.
📍 Serving Utah County, Salt Lake County & the Wasatch Front | Sustainable practices. Beautiful outcomes.